
I have been a avid searcher on Pinterest since introduced. If you are unfamiliar with Pinterest it is a website that has been created to act as an online bulletin board. If you like something you find online, you now have the ability to pin these images and videos on your own boards. My favorite things to find are New Creative Beauty Ideas and Products, home decor and fashion related items.
When I first Joined #Pinterest I saw a photo of "Hair Chalking"!!! What is this? Well, I will tell you what it is.... It is .......Genius!!! (you do not have to buy special chalk... like bellow. You just need any color chalk you like. You can use Pastels as well for even stronger color)

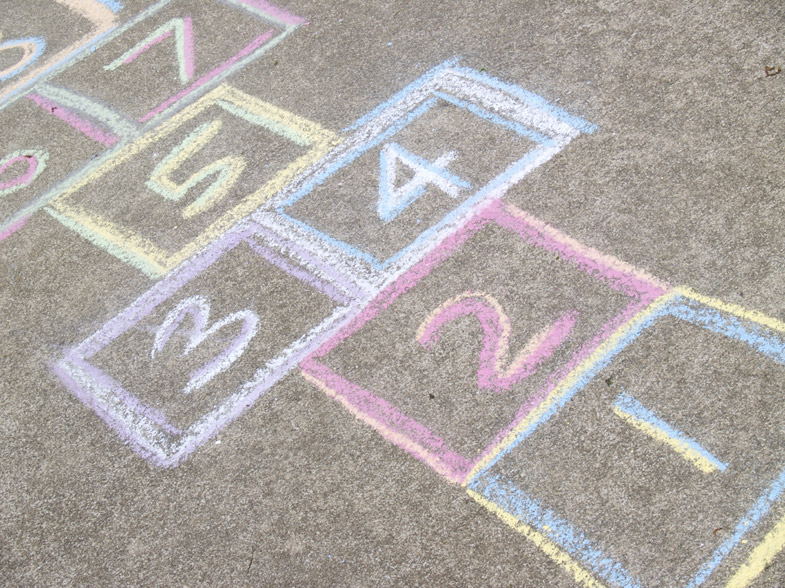
It reminded me of being a kid and playing Hopscotch in the driveway at my house. When you are a little tyke you can have such fun with cement and chalk it is ridiculous! The time would just fly by!!!! As adults we forget about childhood games and pastimes until we have our own children (I am speaking from mothers I hear talking about their children, of course)
Now, as a 28 year old adult, I have found ways to play dress up, makeup & princess at work everyday but have not found a way to wrap CHALKup into my play time. UNTIL NOW!!!
This is such a great way for people to put some fun color into their hair with the ability to wash it out when desired. All you need is..
1. Chalk
2. Water
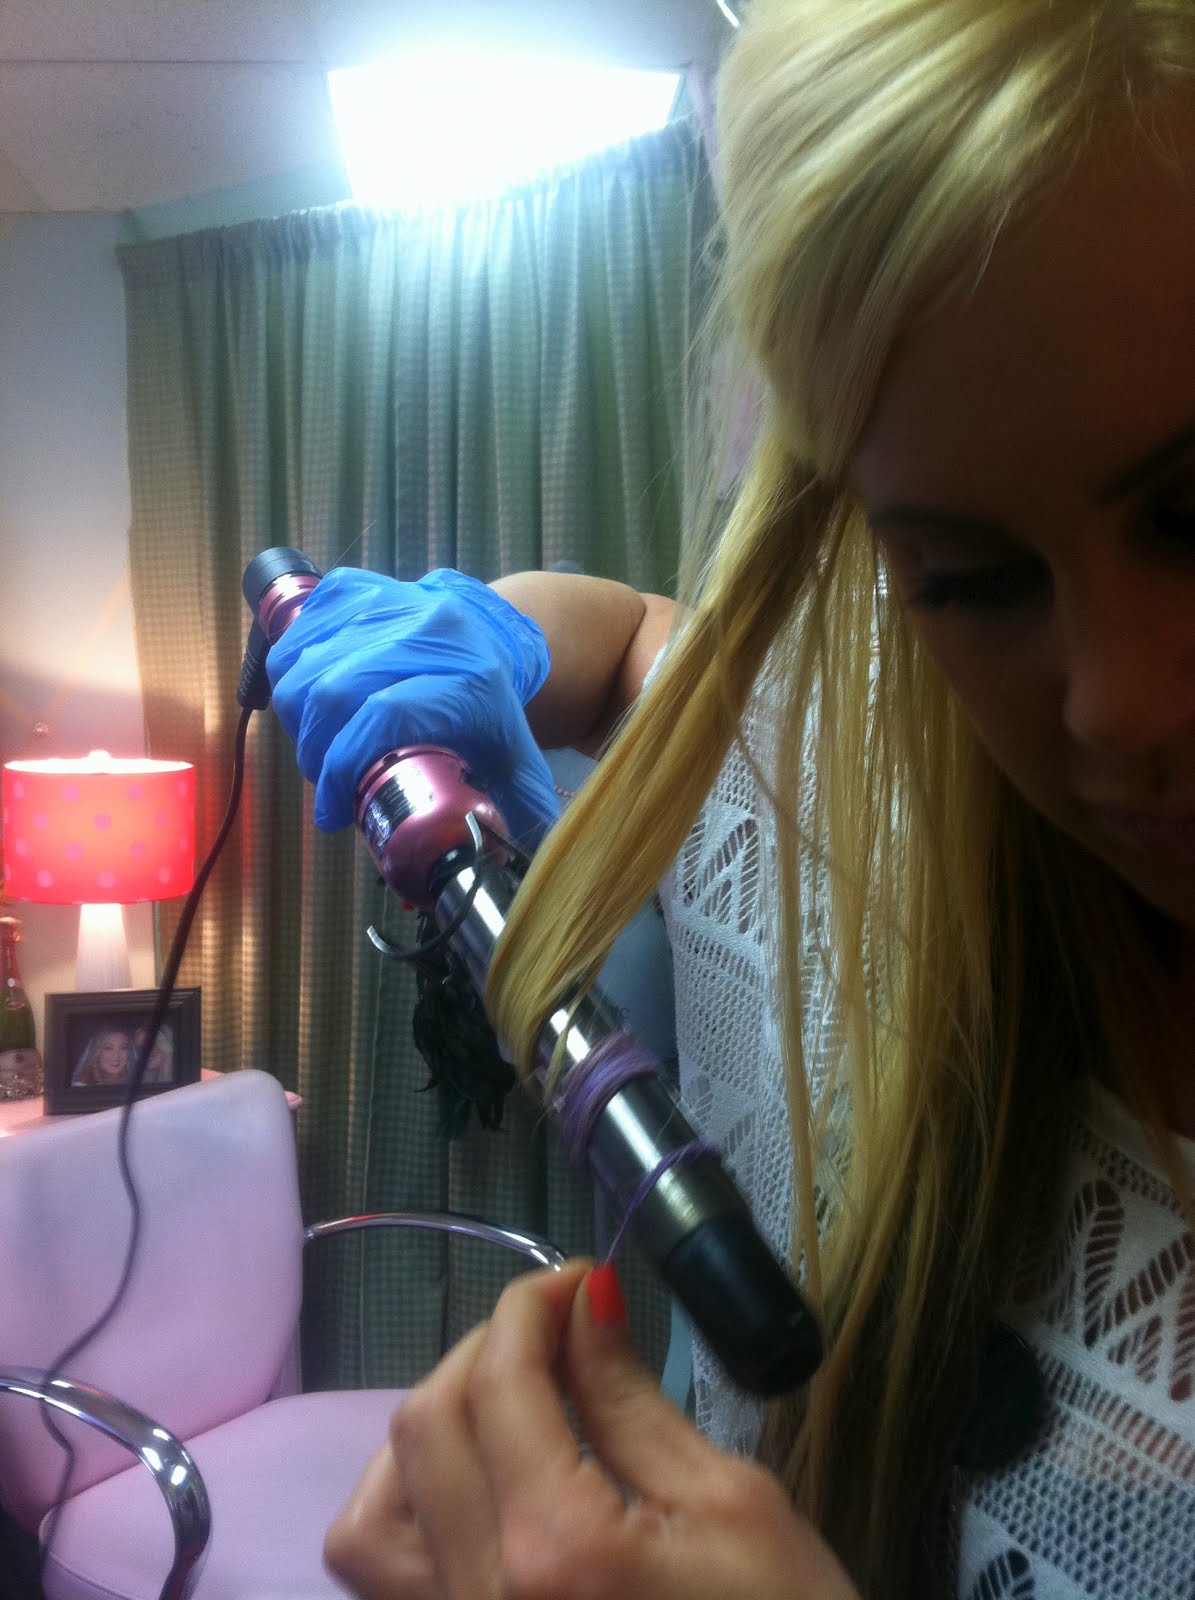
3. Curling Iron or Flat Iron
4. Gloves (optional)

This is my hair before I "Chalked" it. BTW This definitely looks and works better on blonde hair. ATTN: brunettes, there is still hope :)
 Step 1: Separate a Small to Medium portion of hair. Dunk it in water or spray it with water (do anything you need to to get the tip of the hair that you want to "Chalk" wet)
 Step 2: Choose a color that you would like to use for the "Chalking" and dip it in the water to get it wet (it helps if the chalk and the hair are saturated) & rub the hair in a downward motion until you achieve a strong color. Do not rub up and down because that can create tangles.
Step 3: Repeat this process on any pieces of hair you like. Get creative. You don't need to continue to use the same color. Switch it up and create your own unique look!

Step 4: The hair will still be wet at this point, so use a curling iron or flat iron to dry the hair. You might hear a sizzle or see some steam but that is okay. It is the water burning or steaming off.
 this is what it will look like. To get a really rad look curl other hair around the "chalked" area and then later brush them together.
 I did Blue and Purple for my first time. I can't wait to do a little more experimentation.
 Here is what it looks like up close!!!
 If you have brown hair and are unable to see the color, there is an option. Use white chalk as a primer for the first coat and then use your desired color chalk as a second coat. The white chalk will help the color stand out. Try it and let me know how it works :)
Happy Hopscotching
xoxo- LML
I tried this and it's amazing what chalk can do!!! Thank you!!
ReplyDelete